Alacritty is a fast, GPU-accelerated terminal emulator written in Rust. It is deliberately simple, so this guide covers the few things worth configuring.
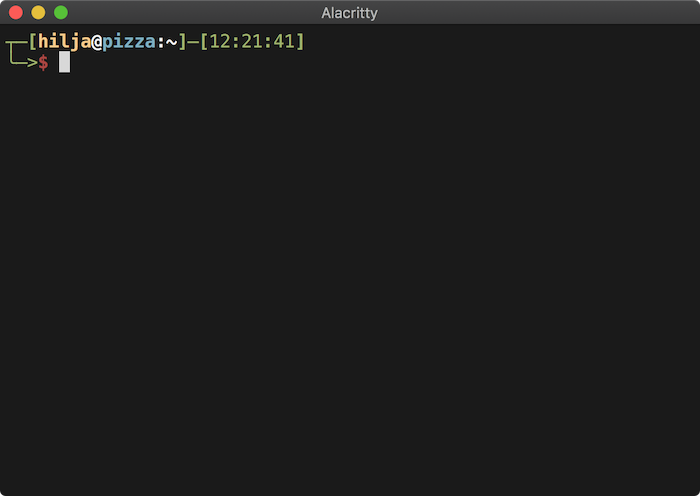
Alacritty adheres to the so called suckless program philosophy. It has no GUI settings editor or built-in pane manager. On macOS it can use native tabs, but for portable tabs, panes, and persistent sessions you still need a terminal multiplexer such as tmux.
That either sucks less or sucks more, depending on your personality.
Install Alacritty on macOS
Download the latest macOS .dmg from the
Alacritty releases page,
open it, and drag Alacritty into Applications.
The app is not notarized. If macOS blocks the first launch, open System Settings → Privacy & Security and choose Open Anyway. Only do this when you downloaded Alacritty from its official GitHub repository.
Check the installed version:
$ /Applications/Alacritty.app/Contents/MacOS/alacritty --version
alacritty 0.17.0
This article targets Alacritty 0.17.0. Check the release notes when using a newer version.
Set up terminfo
Terminfo describes the terminal's capabilities to programs such as tmux and Vim. First check whether the Alacritty entry is already installed:
$ infocmp alacrittyIf that command prints an error, install the entry for your user:
$ git clone --depth 1 --branch v0.17.0 \
    https://github.com/alacritty/alacritty.git
$ cd alacritty
$ tic -o ~/.terminfo -xe alacritty,alacritty-direct extra/alacritty.info
Run infocmp alacritty again to verify it. You may also need the entry on a
remote host when connecting over SSH.
Configure Alacritty
Alacritty uses TOML and does not create a config file for you. Create
~/.config/alacritty/alacritty.toml:
$ mkdir -p ~/.config/alacritty
$ touch ~/.config/alacritty/alacritty.toml
Open the file in your editor. This makes the config easy to keep in your dotfiles and share between machines. See the official config reference for every option.
Copy selected text
Copy selected text to the system clipboard without pressing Cmd+C:
[selection]
save_to_clipboard = true
Use Option as Alt
On macOS, the Option key types characters such as # and € by default. To
send Option as Alt to terminal programs instead, choose which Option key to
remap:
[window]
option_as_alt = "OnlyLeft"
The valid values are "OnlyLeft", "OnlyRight", "Both", and "None".
Keeping one Option key unmodified lets you type macOS special characters.
Use fish
Alacritty uses $SHELL by default and starts a login shell on macOS. If fish is
already your login shell, no Alacritty setting is needed.
To force a particular shell, find its path with command -v fish, then add it
to the config:
[terminal]
shell = { program = "/opt/homebrew/bin/fish", args = ["--login"] }
Use the path printed on your machine. Intel Macs commonly use
/usr/local/bin/fish instead.
Open URLs
Alacritty detects URLs and opens them with the macOS open command by default.
Click a highlighted URL, or press Ctrl+Shift+O and then its hint key.
If an application such as tmux has captured the mouse, hold Shift while clicking to bypass mouse reporting.
Add a color theme
The Alacritty theme repository contains ready-made TOML themes. Clone it:
$ git clone https://github.com/alacritty/alacritty-theme \
    ~/.config/alacritty/themes
Then import a theme near the top of alacritty.toml:
[general]
import = ["~/.config/alacritty/themes/themes/catppuccin_mocha.toml"]
Example config
Here is a complete, small config based on my original setup:
[window]
padding = { x = 10, y = 10 }
opacity = 0.99

[scrolling]
history = 100000
multiplier = 3

[font]
size = 16.0

[font.normal]
family = "Menlo"
style = "Regular"

[colors]
draw_bold_text_with_bright_colors = true

[colors.primary]
background = "#181818"
foreground = "#d8d8d8"

[colors.cursor]
text = "#181818"
cursor = "#d8d8d8"

[colors.normal]
black = "#181818"
red = "#ab4642"
green = "#a1b56c"
yellow = "#f7ca88"
blue = "#7cafc2"
magenta = "#ba8baf"
cyan = "#86c1b9"
white = "#d8d8d8"

[colors.bright]
black = "#585858"
red = "#ab4642"
green = "#a1b56c"
yellow = "#f7ca88"
blue = "#7cafc2"
magenta = "#ba8baf"
cyan = "#86c1b9"
white = "#f8f8f8"

[bell]
animation = "EaseOutExpo"
duration = 300
color = "#ffffff"

[selection]
save_to_clipboard = true

[cursor]
style = { shape = "Block", blinking = "Off" }
unfocused_hollow = true
Alacritty reloads config changes automatically. Errors appear in the terminal
window; you can also run Alacritty with -vv for more detail.
Keyboard shortcuts
These are the most useful default shortcuts on macOS:
| Key | Action |
|---|---|
| Cmd+0 | Reset font size |
| Cmd+= | Increase font size |
| Cmd+- | Decrease font size |
| Cmd+K | Clear the screen/history |
| Cmd+C | Copy |
| Cmd+V | Paste |
| Cmd+F | Search forward |
| Cmd+B | Search backward |
| Cmd+N | Create a new window |
| Cmd+T | Create a native macOS tab |
| Cmd+W | Close the tab or window |
| Cmd+Q | Quit |
| Ctrl+Cmd+F | Toggle fullscreen |
| Cmd+Shift+[ | Previous tab |
| Cmd+Shift+] | Next tab |
See the default bindings reference for the full list.
Custom bindings belong in the [keyboard] table. For example, this creates a
new window with Cmd+Shift+N:
[keyboard]
bindings = [
  { key = "N", mods = "Command|Shift", action = "CreateNewWindow" },
]
Vi mode
Vi mode lets you navigate the terminal's scrollback with familiar Vim keys. It does not edit the current shell command.
Press Ctrl+Shift+Space to enter or leave Vi mode. Move with
h, j, k, and l. Press v to start a selection and y to copy it. Press / to search, or Enter to open the URL under the cursor.
Start Alacritty from the command line
Open a new macOS instance:
$ open -na AlacrittyTo start Alacritty with a different config file, call the executable inside the app bundle:
$ /Applications/Alacritty.app/Contents/MacOS/alacritty \
    --config-file ~/.config/alacritty/party-mode.toml
View all command-line options:
$ /Applications/Alacritty.app/Contents/MacOS/alacritty --helpAdd tmux
Alacritty does not provide portable panes or persistent sessions, so tmux is a useful companion.
Install and start tmux:
$ brew install tmux
$ tmux
Tmux shortcuts start with Ctrl+B, followed by another key. For example, Ctrl+B % splits the current window into left and right panes. Ctrl+B c creates a window, Ctrl+B n selects the next window, and Ctrl+B p selects the previous one.
Conclusion
Alacritty stays out of the way: configure the window, font, colors, and keys in one TOML file, then let your shell and tmux handle the rest.